Smart Pots in the Winter by C.L. Fornari
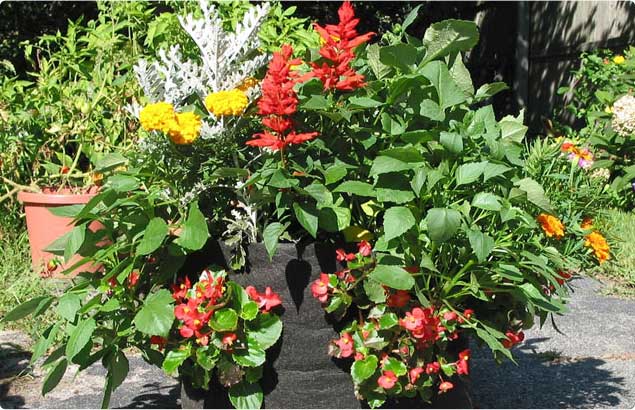
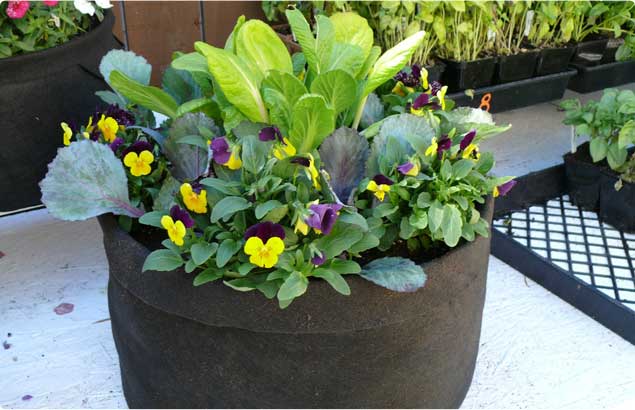
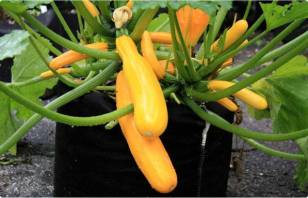
Some of my Smart Pots get the winter off, but others are used throughout the year. My husband and I grow potatoes and other vegetables in large Smart Pots during the summer, and several of these are dumped out, hosed off, and stored in the garden shed at the end of the season. Come spring, these will be filled with a mix of garden soil, bagged loam and compost, and placed in sunny areas for the summer. But some of our Smart Pots are used in the winter as well.
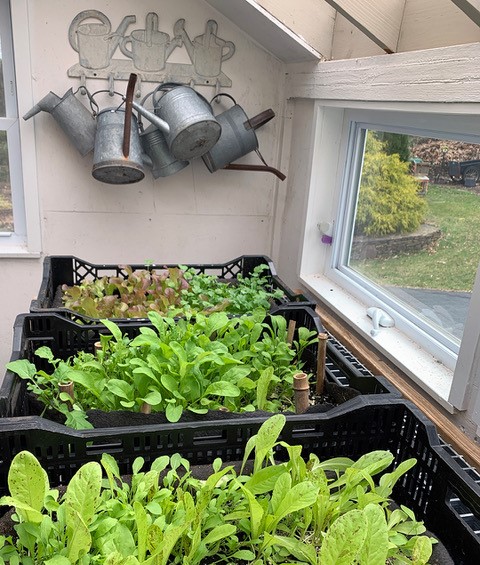
The south-facing half of our garden shed has polycarbonate panels on the roof and windows along the side. This section is insulated and solar-heated. There is no electricity or running water, but the wall of clay pots stored against the north-wall do absorb the sun’s heat and release it into the space overnight. We’ve seen that come mid-February this space does not go below freezing, and even on a 20° sunny day, it’s toasty on this side of the shed.
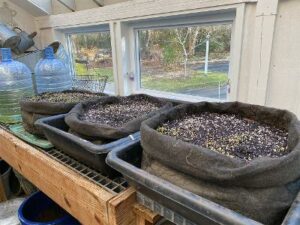
In addition to cutting the oldest, largest leaves for our salads in the off-season, we are able to transplant these greens outside in April. This means that in our warm-Zone-6 garden we’re able to have mature lettuce, arugula and mustard greens available for harvest even as we’re seeding the first of these directly into the garden.
Another way gardeners can use Smart Pots over the winter is to fill them with dry, fresh potting soil in the fall, and use these to store dahlia tubers. Dig the dahlias after the first frost and wash off the tubers, then place them in a shed or garage for a couple of weeks to dry out. Next, put a three or four inch layer of dry potting soil in the Smart Pots, and place a layer of tubers there, just barely touching each other. Top with more dry potting soil and store them in a cool basement or garage where they won’t freeze. Come spring, simply reach in and pull out the tubers and then add compost or loam to the potting soil in the Smart Pots and plant with your summer flowers or vegetables.
We’ve found that our Smart Pots last for many years, and they don’t charge us overtime when we put them to work year-round!
C.L. Fornari
Gardener and Garden Communicator
Podcasting at www.Plantrama.com
