Starting Seeds in Smart Pots
Many gardeners enjoy starting their own plants from seed. Whether annuals, vegetables, perennials, or herbs, starting from seed means a greater selection of varieties and a reduction in cost. When you grow from seed, you can grow a whole lot of plants for very little money. Plus, planting seeds gives you greater control over how your plants are handled from sowing to harvest.
While planting seeds isn’t difficult, below you’ll find a ten handy tips to ensure your success.
10 Tips for Planting Seeds
- Select the right container
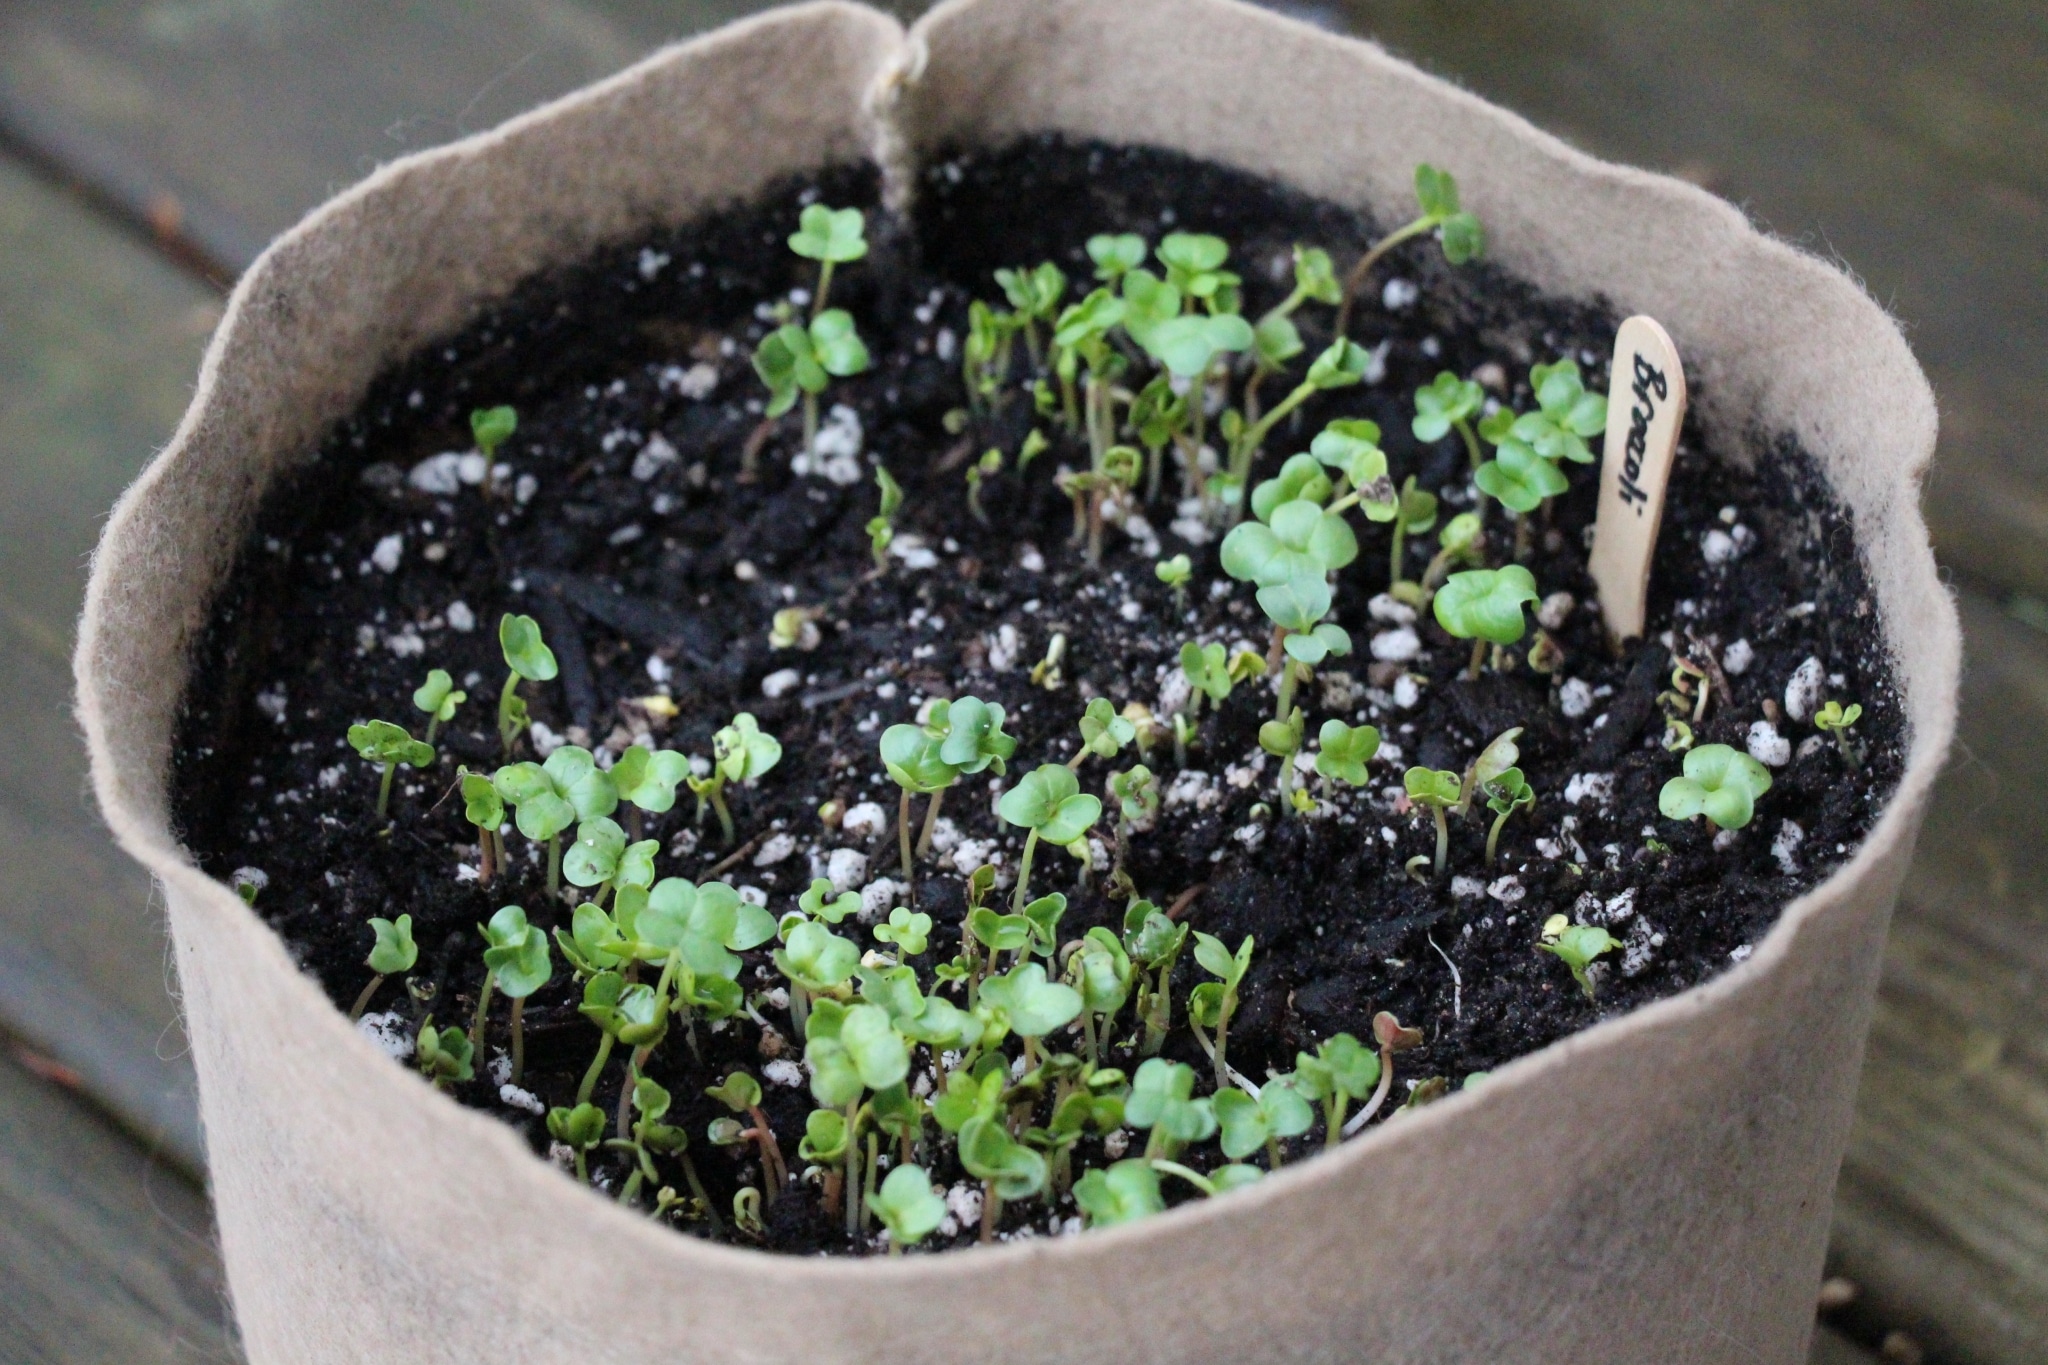
Though there are many types of pots for plants, when it comes to starting seeds, Smart Pot fabric planter bags are an excellent choice. They’re lightweight, easy to handle, easy to wash, and their porous nature encourages exceptional seedling root growth. Start seeds from a single variety in a one gallon-sized Smart Pot, or if you’re growing multiple varieties, grow several of them together, in a larger Smart Pot.
- Choose the proper potting mix
For optimum seedling growth, fill your Smart Pot with a peat- or coir-based, soil-less potting mix that’s formulated specifically for seed starting. The fine texture and lighter weight of these mixes give young seedlings the best start. Once the container is filled, moisten the potting mix to help it settle.
- Read the seed packet
Because many seeds have specific requirements to encourage the best germination rate, it’s important to read every seed packet before seed planting begins. Some seeds, like begonias, impatiens, and petunias, need light to germinate and should not be covered with soil, while other seeds require complete darkness. Also, be on the lookout for seeds that require pretreatment before planting. For example, seeds with thicker seed coats may need to be soaked in water for a few hours before planting, or they may need their seed coat nicked with a metal file to encourage germination.
The seed packet also helps determine when the seeds should be planted. Add the “days to germination” to the “days to maturity” noted on the seed packet, and subtract this amount of time from the date you’d like to make your first harvest. The resulting date is the day you should try to plant the seeds.
- Sow the seeds
Once you’ve noted any specific germination requirements, it’s time to sow the seeds. Planting seeds in rows or blocks easily separates individual varieties, and since you’ll likely be transplanting the seedlings in a few weeks, you can sow the seeds fairly thickly. Space seeds at about two to three times their width. Mark each individual variety with its name and sowing date.
- Water and cover
Water the newly planted seeds with a gentle shower, and then loosely cover the Smart Pot with a sheet of plastic wrap. The plastic wrap maintains a high humidity level around the seeds until they germinate, but to prevent fungal issues, it needs to be removed as soon as the first few seedlings emerge.
- Lights
For the best results, place your newly seeded Smart Pot under a grow light or fluorescent tube shop lights. The lights should remain two to four inches above the plant tops; you’ll need to raise them as the seedlings grow. Use a timer to ensure the lights are on for sixteen to eighteen hours per day.
- Heat
Optimum germination for most seeds occurs when the soil is slightly warmed. Place a seedling heat mat (available at your local garden center) under the pot to raise the ambient temperature ten to fifteen degrees and speed germination. This supplemental heat can be removed as soon as the seedlings have developed their first true leaves.
- Caring for your seedlings
As your seedlings grow, continue to regularly water them. Do not allow the soil to completely dry out. To increase air circulation and cut down on possible fungal issues, you can set an oscillating fan to blow over the tops of the seedlings for fifteen minutes, twice a day. This is easily done by putting the fan on a timer.
- Transplant
Once your seedlings develop their first set of true leaves, it’s time to transplant them. Gently lift the seedlings out of the smart pot by inserting a butter knife into the soil below their roots. Carefully separate the pried up seedlings by untangling their roots. Once separated, the individual seedlings can be moved to nursery cell-packs or small, three- or four-inch plastic nursery pots where they’ll continue to grow until it’s time to move them outdoors. After transplanting, fertilize seedlings weekly with a liquid, organic fertilizer diluted to half the recommended strength.
- Acclimate
Two weeks before the seedlings are set to make their way out into the garden, take the time to acclimate them to outdoor conditions. On warm days, move the seedlings outdoors and put them in a sheltered, shady spot for a few hours a day. Over the course of the next two weeks, gradually increase the amount of time the seedlings spend outdoors; at the same time, increase the amount of direct sunlight they’re exposed to on a daily basis. Eventually, they’ll remain outdoors all day and night. When this happens, it’s time to plant them out into the garden.
By following these ten tips for planting seeds, a beautiful, productive garden is within easy reach.
